Expense Reports (Admin)
The Expense Reports inbox shows all reports submitted by employees across the organisation. As an admin or approver, you review the full contents of each report — expenses and per diem entries — and approve, reject, or mark them paid from this view.
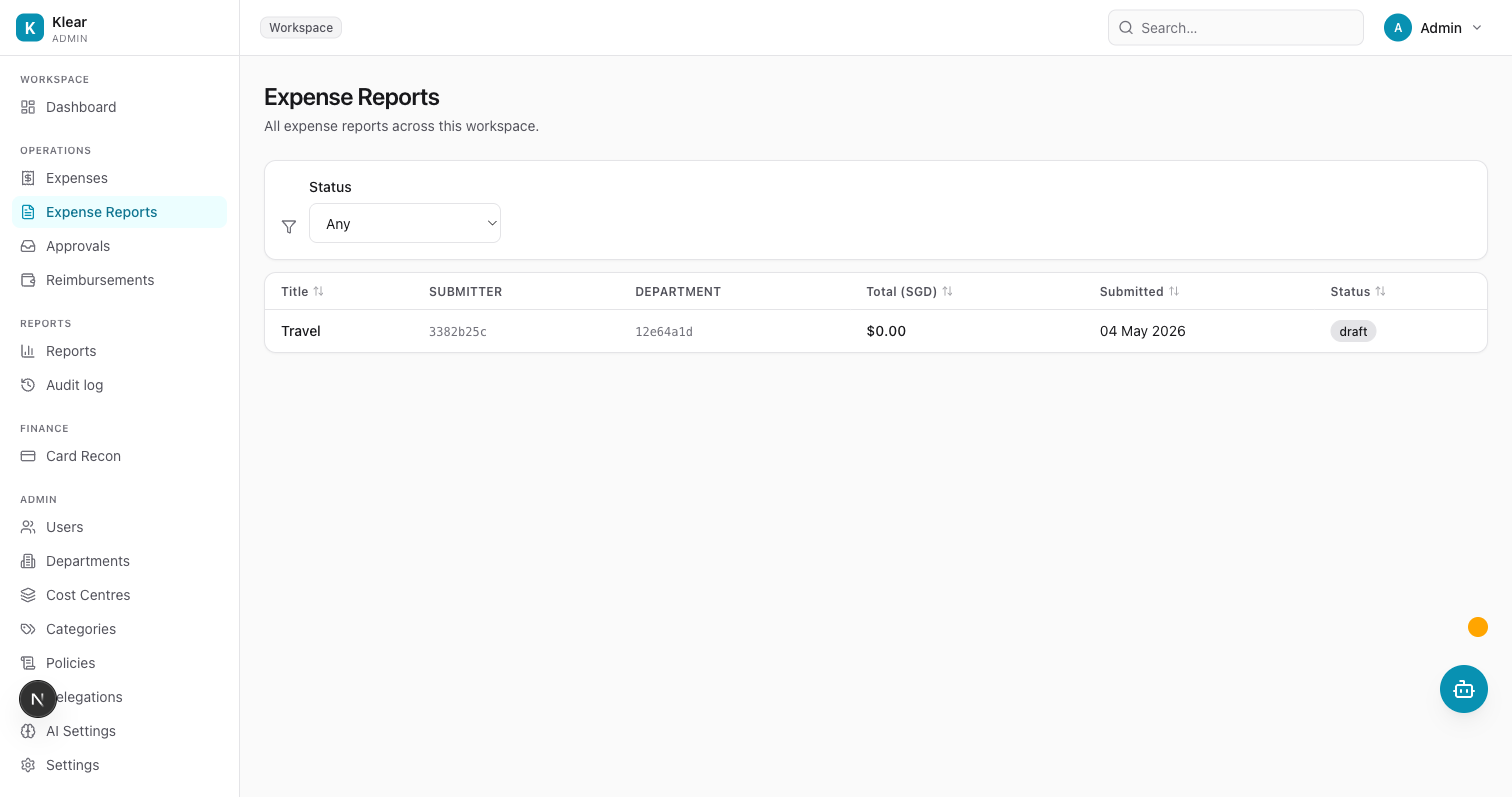
Report approval inbox
The inbox lists every report across the workspace. Columns include:
| Column | Description |
|---|---|
| Title | The employee-provided report name |
| Submitter | User ID of the submitting employee |
| Department | Department the report is charged to |
| Total (SGD) | Sum of all line items converted to SGD |
| Submitted | Date of submission |
| Status | Current status: draft, submitted, in_review, approved, rejected, paid, or closed |
Use the Status filter to narrow the list to reports at a specific stage.
Reviewing a report
Click any report row to open the detail view.
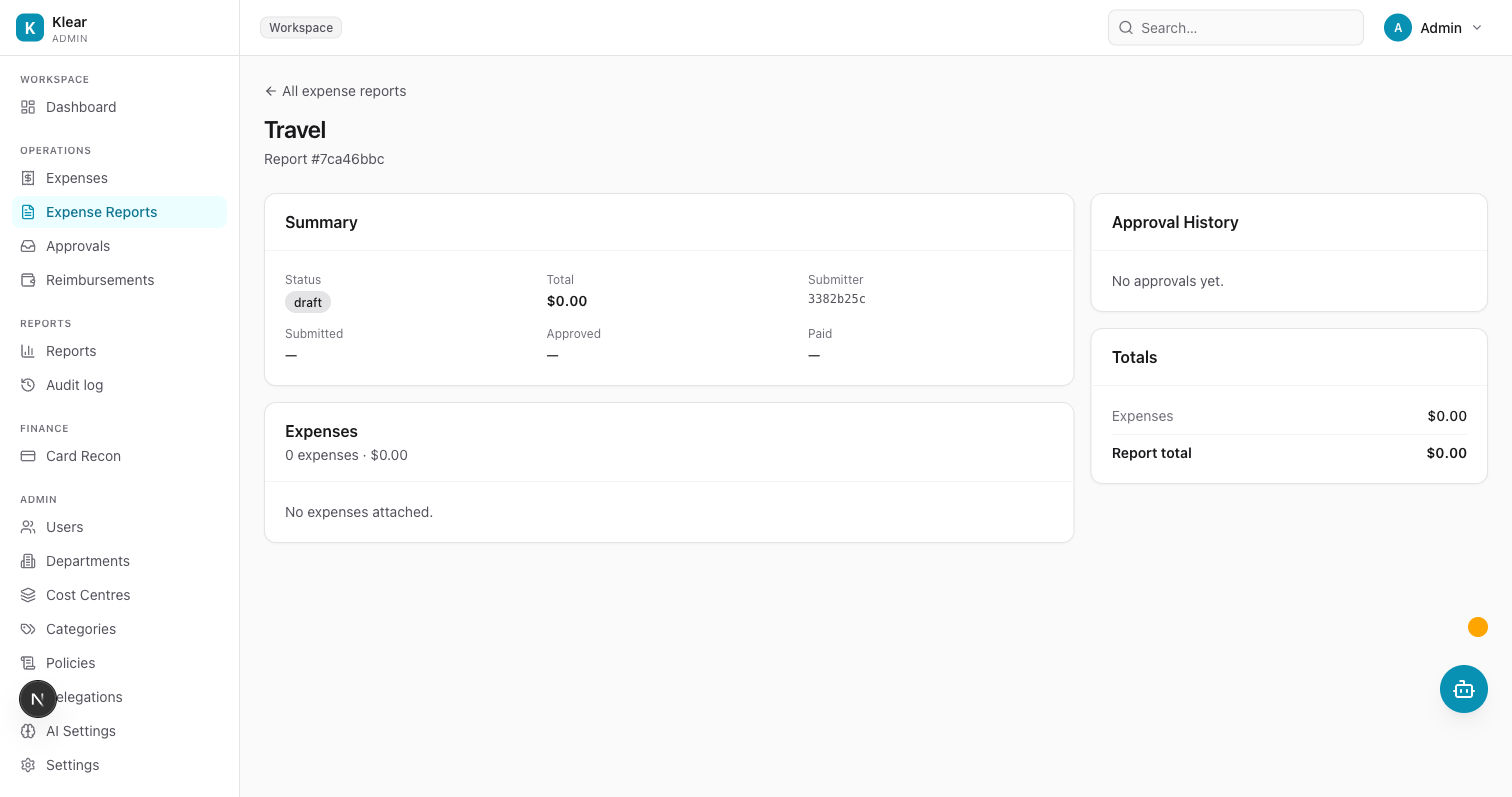
The detail view is split into two panels:
Left panel:
- Summary — report status badge, total SGD, submitter, submitted/approved/paid timestamps
- Expenses — each expense row shows merchant, date, category, amount, and receipt attachment
- Per diem — each per diem row shows destination country, city, date range, daily rates, and total
Right panel:
- Approval History — all approval steps with timestamps, approver names, and comments
- Totals — breakdown of expenses subtotal and report total
Review receipts by clicking the attachment icon on any expense row.
Approving a report
- Open the report
- Review all line items and attachments
- Add an optional comment in the Comment field
- Click Approve
The report advances to the next approver in the chain. If you are the final approver, the report moves to Approved status and is queued for payment.
If the report spans multiple departments or has locked approval chain steps from a company-wide policy, all mandatory steps must be completed before the report is marked Approved.
Rejecting a report
- Open the report
- Select a reason category (required):
- Policy violation
- Duplicate
- Insufficient info
- Out of budget
- Personal expense
- Other
- Add an optional note with details for the employee
- Click Reject
The report is returned to the employee with Rejected status, the reason category, and your note. The employee can edit the report and resubmit.
Marking reports paid
Once a report is Approved, Finance can mark it as reimbursed:
- Open the approved report
- Click Mark as paid
- Confirm in the dialog
The report status moves to Paid. The employee is notified and the payment is recorded in the audit log.
Only users with the Finance Admin or Owner role can mark reports as paid.
To process multiple reports at once, use the checkbox column in the inbox list to select reports and click Bulk mark paid.
Report statuses (admin view)
| Status | Meaning |
|---|---|
| Draft | Employee is still building the report. Not visible in the inbox. |
| Submitted | Waiting for the first approver. |
| In Review | Progressing through the approval chain. |
| Approved | All approvers have approved. Ready to pay. |
| Rejected | Returned to the employee. |
| Paid | Reimbursement confirmed by Finance. |
| Closed | Finalized and archived. |
Filtering
The inbox supports a Status filter to narrow the list to reports at a specific stage (any, draft, submitted, in_review, approved, rejected, paid, closed).